This shop has been compensated by Collective Bias, Inc. and its advertiser. All opinions are mine alone. #MNYLooksToLove #CollectiveBias
 There are so many hot trends going around right now — strobing, matte lips, baking, brown lipsticks, etc — it can be overwhelming if you’re just starting out in your makeup adventure. Today I have a fun “how to” post that quickly explains how to do another hot trend — contouring. In my opinion, it’s the easiest one to start out with and the one that you can incorporate into your natural every-day makeup routine without looking too ‘glam’ed up. Ready to find out how?
In this post I will be using many Maybelline products, including the new Dream Velvet Foundation, Dream Velvet Blender, and the Master Contour Palette. I’m sure you’ve been seeing them popping up on social media and at your local stores. I found mine at my local Walmart in the beauty section, displayed at the top of the Maybelline section (as shown below).
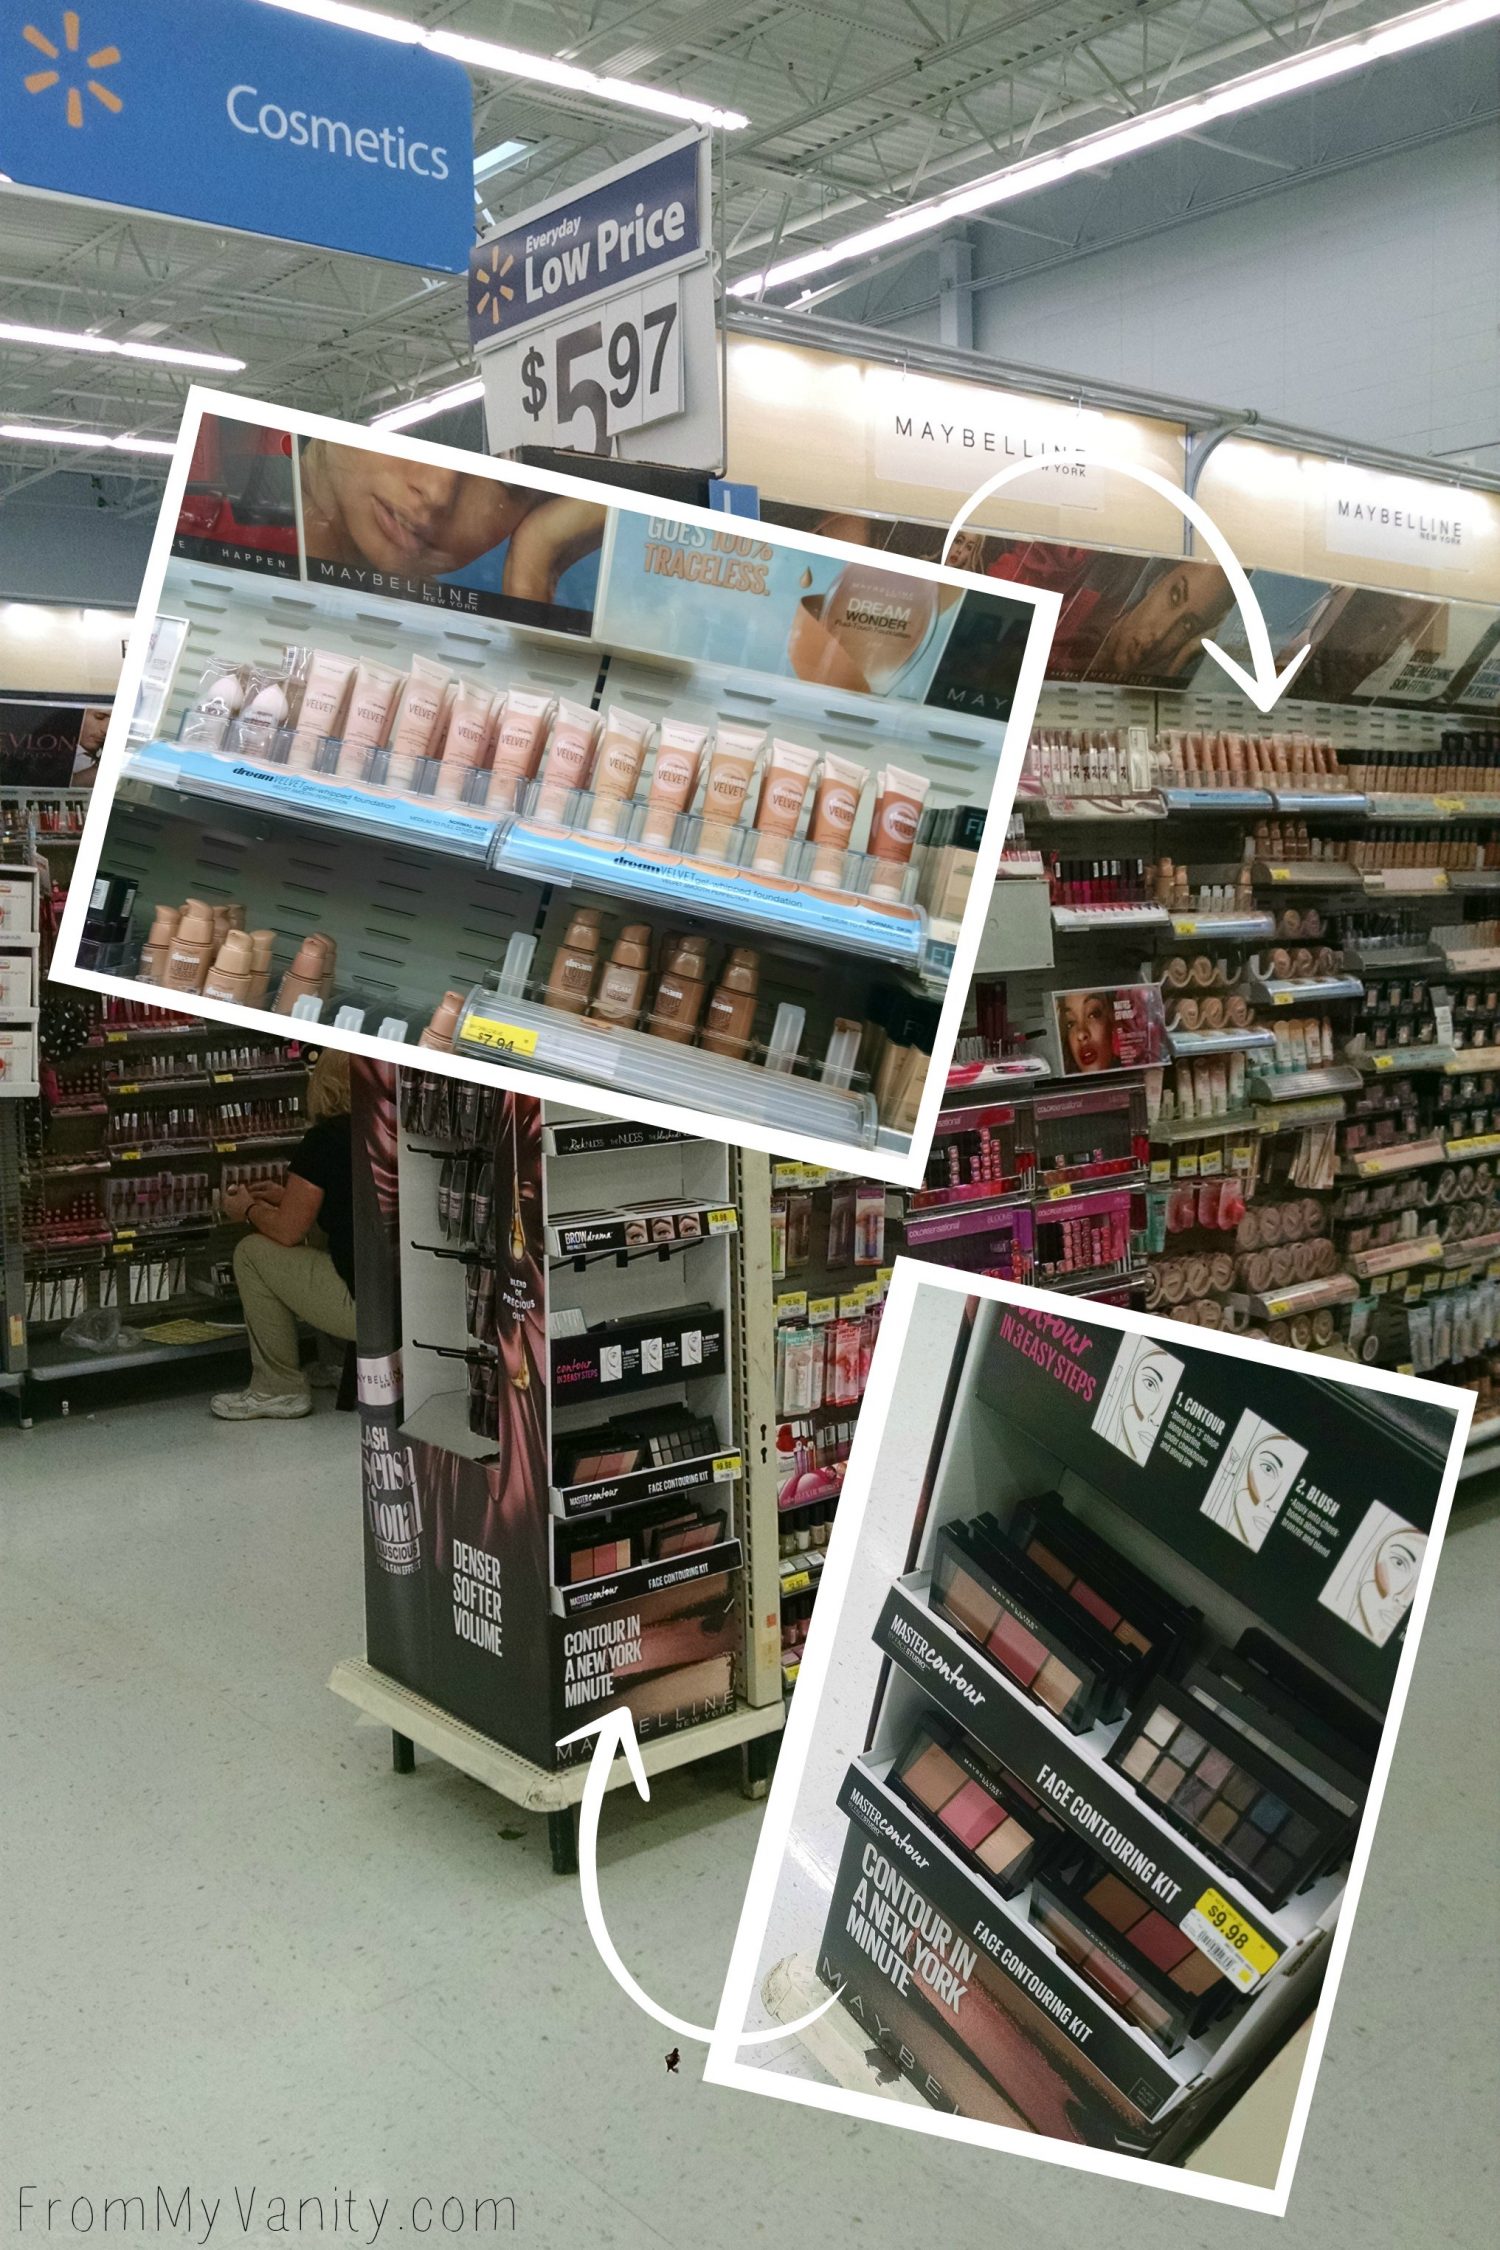 (Which, by the way, I never realized how many Maybelline products I use on a daily basis until I sat down to create this tutorial. Anyone want to see a ‘One Brand Tutorial & Review’ featuring this brand? Let me know in the comments!)
So now that you know where it’s located….let’s move along to the tutorial! Since this is all about the face and how to contour, I’ve already done my eye makeup. (If you would like a tutorial, let me know below. It was really easy to get this matte smokey eye!)
How to Contour for Beginners, Tutorial
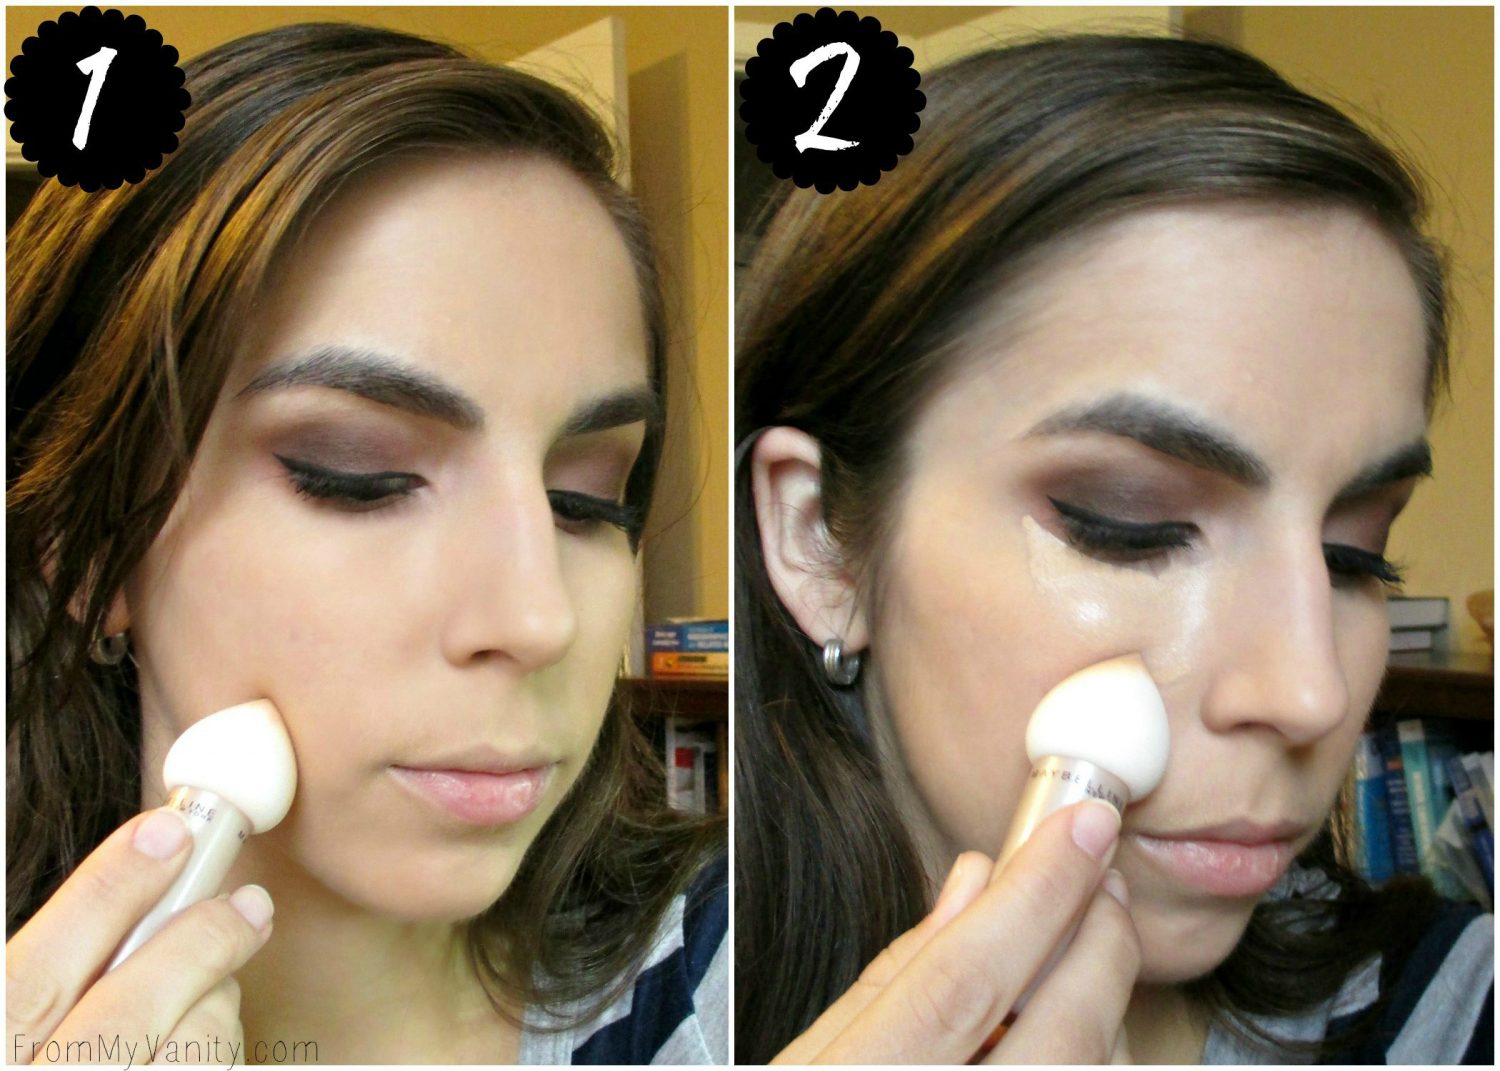 Step 1, Foundation: I primed my skin before I did my eyes, so it had time to sink in, and now I’m using the Dream Velvet Foundation. I, personally, prefer a buffing brush to apply my foundation, but I found that the Dream Velvet Blender worked well at adding extra coverage in the areas I needed.
Step 2, Conceal & Set: The Dream Velvet Blender also worked great at blending out my under eye concealer. Since it’s rather petite and pointed, it was able to get right up under the lash line and in the corner. Perfect! Once that’s blended in, apply a light coat of setting powder all over your face. This is an important step, at least for me. I find that when I set my foundation and concealer with a light layer of powder, my contour, blush, and highlight blends into the skin a lot better. Less chance of you getting that ‘muddy’ look with your contour!
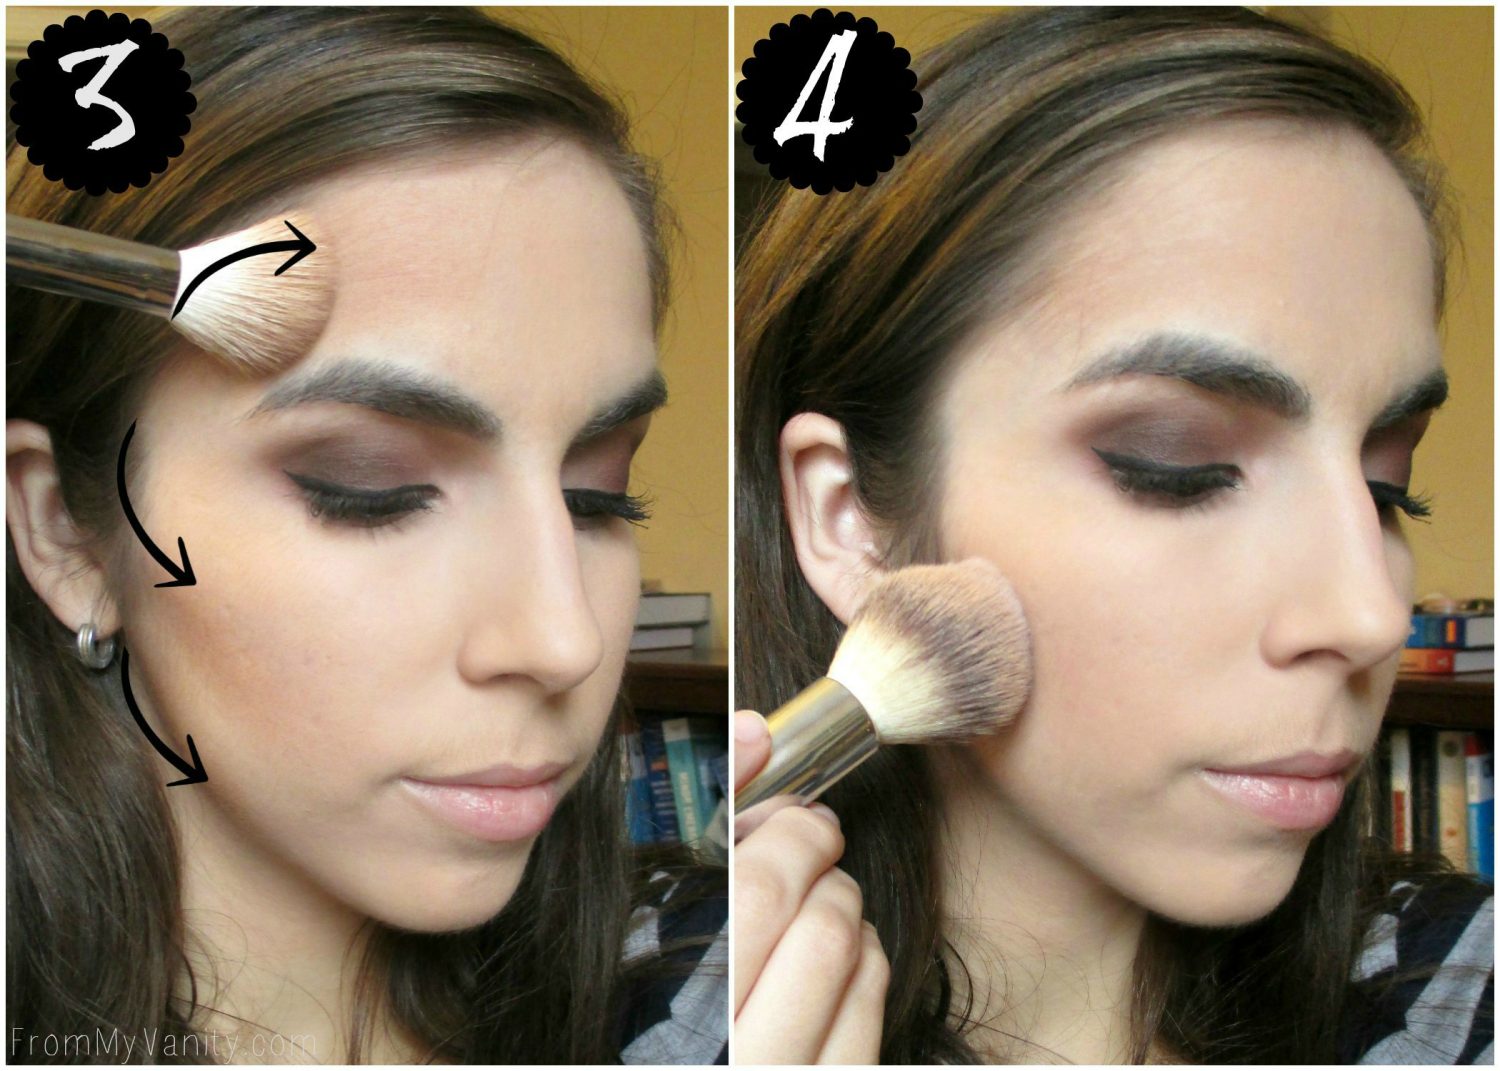 Step 3, Apply the Contour: The easiest way to achieve a soft, every-day contour is using a two step process. First I take a dense, angled brush and pick up the contour shade in the Maybelline Master Contour Palette. Now apply this in a heavy line on the edges of your forehead, in the hollow of your cheek, and right under your chin. Think of a large “3”. Don’t worry about blending, you just want to get the contour powder in the right places. If you are unsure where the hollow of your cheeks are, make a fish face (such your cheeks in) and you’ll find them. 😉
Step 4, Buff Out: Now take a more rounded, tapered, fluffy brush and buff the contour lightly into your skin. Don’t use a heavy hand, let the brush do the work for you. This will give you the most natural contour and help your face look defined without looking chiseled.
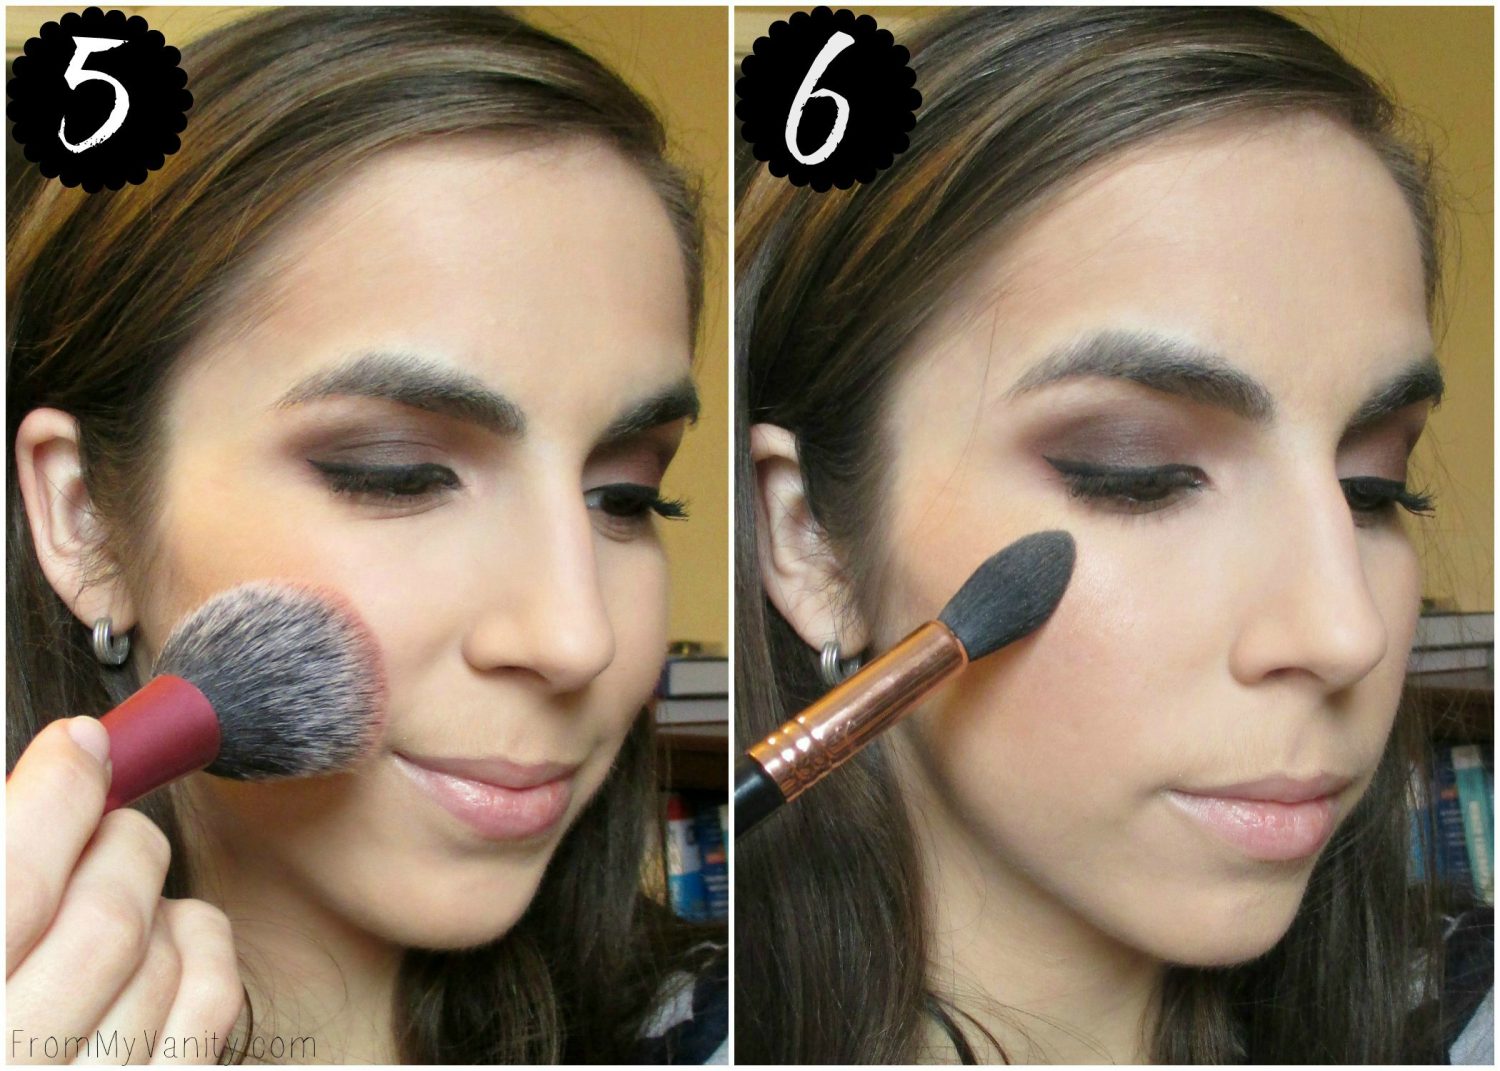 Step 5, Blush: The rest is pretty self explanatory, but since we’re using the Maybelline Master Contour Palette, use your favorite blush brush to apply the blush from this palette to the apples of your cheeks. Buff and blend it, going backwards toward your hairline.
Step 6, Highlight: Of course, you have to get your glow on! From the same palette pick up the highlight powder with a smaller brush and hit the top of your cheekbones. I know it’s hard to see it in this picture, but it gave me a really beautiful glow! Nothing too bold, but a very natural, healthy glow. 🙂
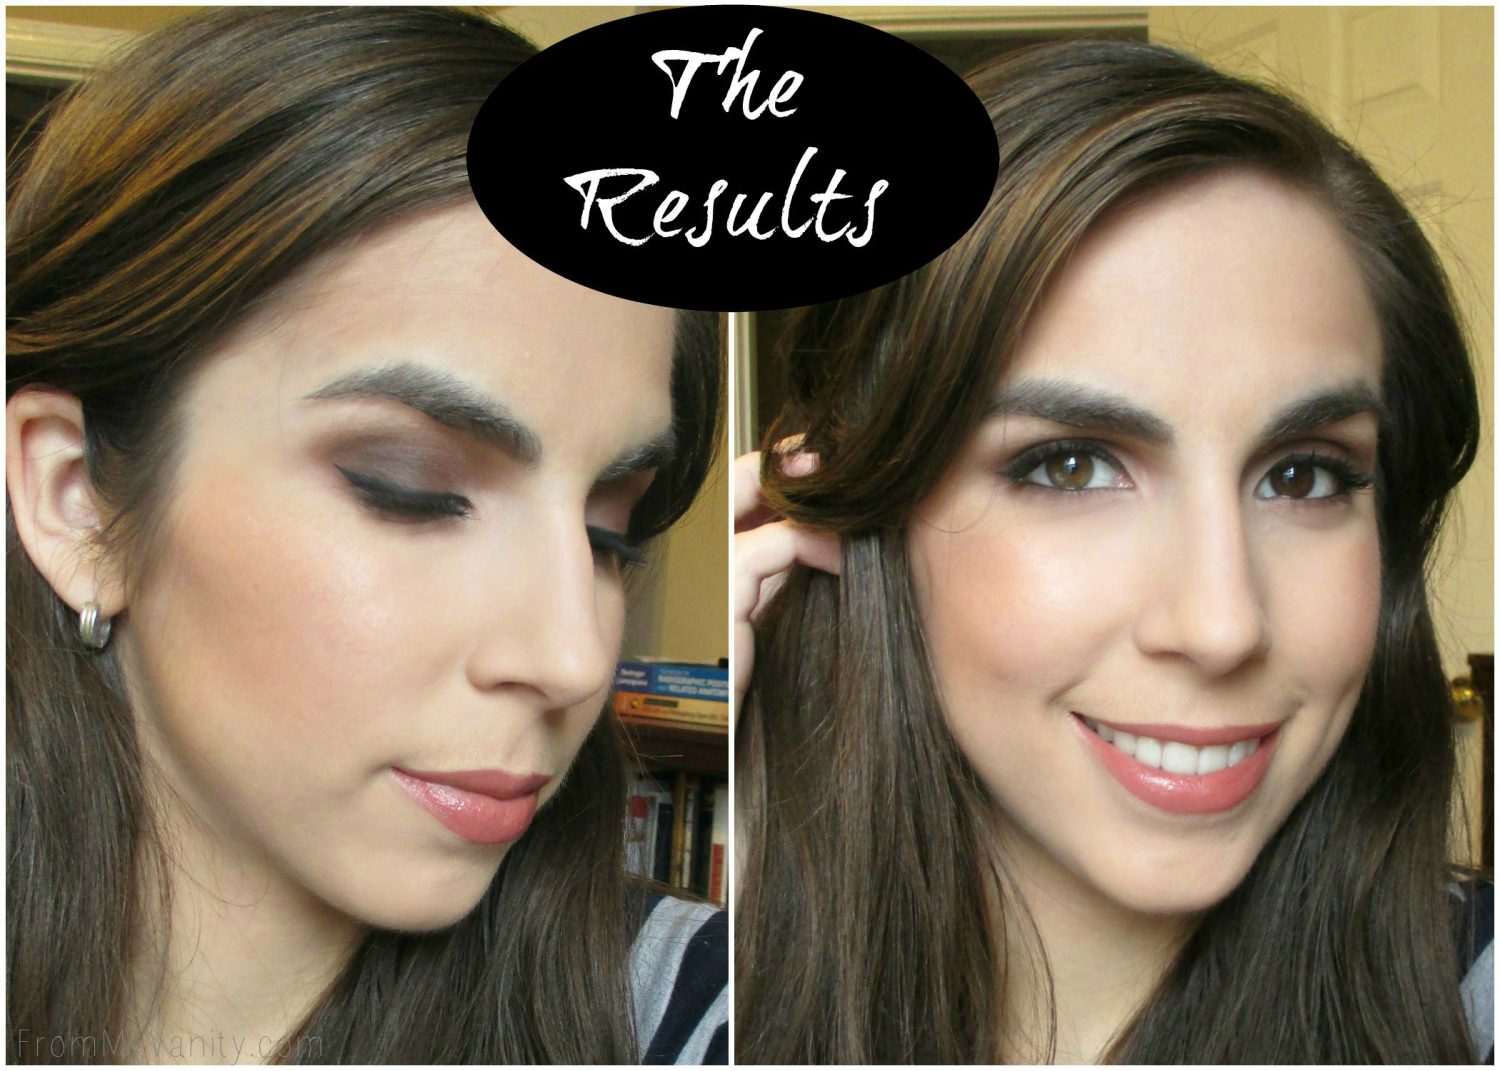 And there you have it! Just finish off the look with your lipstick of choice and you’re ready to go! Really easy, and taking those extra steps to lightly contour your face really makes a difference! It helps put back the different dimensions of your face that your foundation can cover.
I hope you found this contouring tutorial helpful! I’m no makeup artist, but I do know this is something I would’ve liked to know when I first started out wearing makeup. For too long I just applied a heavy layer of foundation (to cover those acne breakouts!) — no contour or blush or anything. 😮
Let me know if you enjoy contouring your face. Have you tried the new Master Contour Palette yet? For just under $10 you get a contour, blush, and highlight — very affordable!
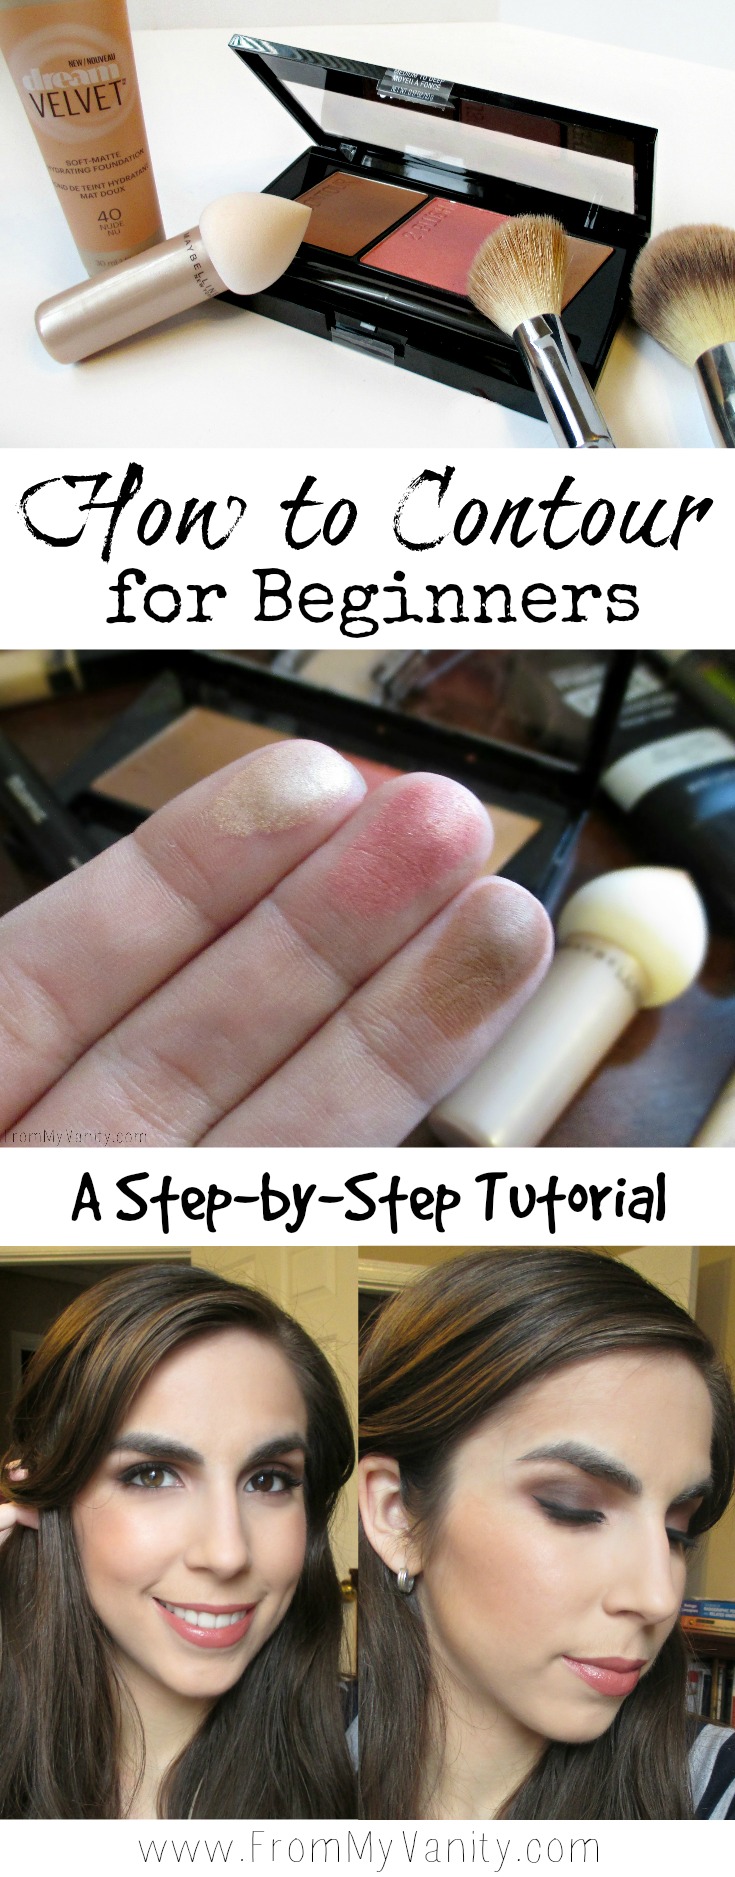
PIN TO READ LATER!
This shop has been compensated by Collective Bias, Inc. and its advertiser. Thank you so much for helping to support From My Vanity through subscribing, reading, and clicking! Some affiliate links used. All opinions expressed in this post are 100% mine. 🙂
