
We’ve all been there — all your nails are long, beautiful, and strong and you’ve painted them a fun color….and you break a nail shutting the mailbox! 🙁 In the past, I’ve always had to just clip the nail off and trim the rest of my nails to make them all match (I can’t stand if they’re uneven). But! There’s another way! Not only can you save the length of the rest of your nails, but you can save your manicure, too!
I can’t take credit for discovering this tip. I’ve seen it on the internet and Pinterest, but I think the first place I ever saw it was from CutePolish on Youtube. I highly recommend that you go watch her video, but if you don’t have time to watch a video, or can’t get it to upload, just keep scrolling to see my picture tutorial!
How to Fix a Broken Nail (Easy Tutorial)
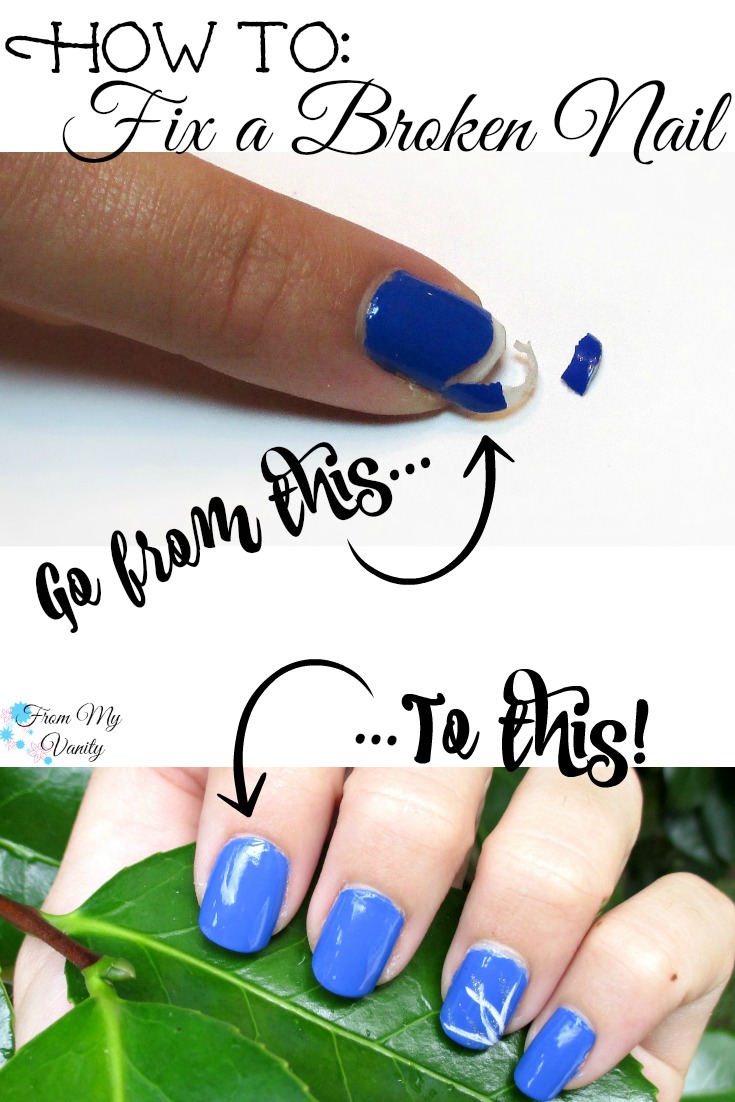
 So this happened when I accidentally slammed my finger against the table the other day. After kicking myself for not being more careful, I pulled out all the supplies and set to work.
Step One: Remove Polish & File Nail
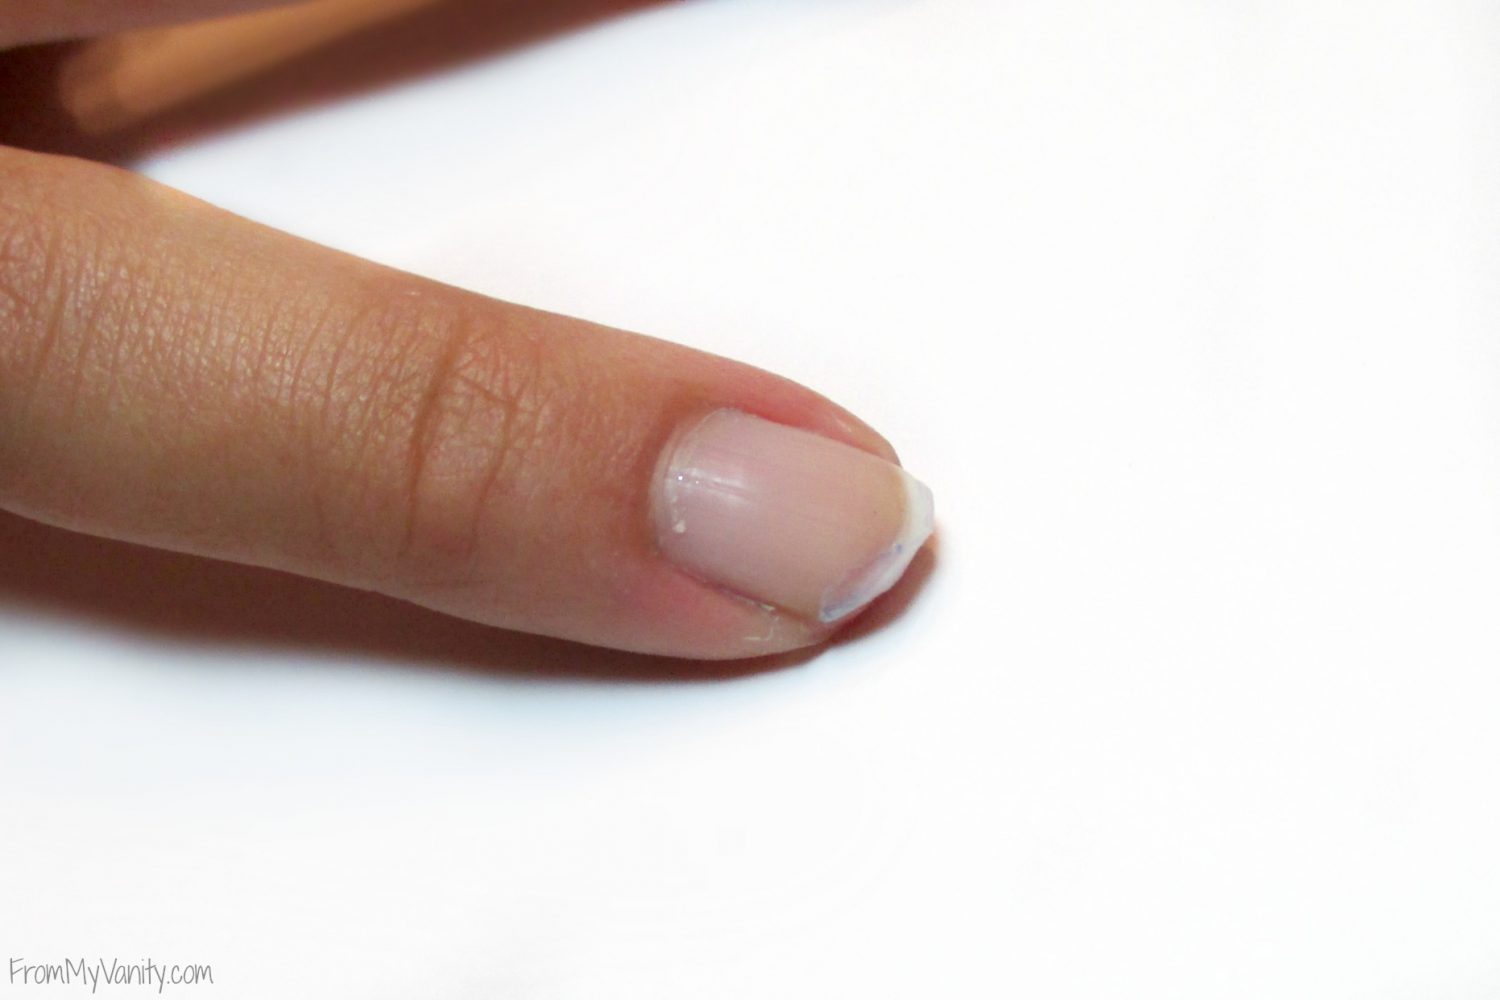 Remove the broken pieces, use nail polish remover (I like this one from Sallys) to take off all the polish that is on your nail, and file the rough edges away. Now you’re ready to start fixing!
Step Two: Find a Nail Size That Fits
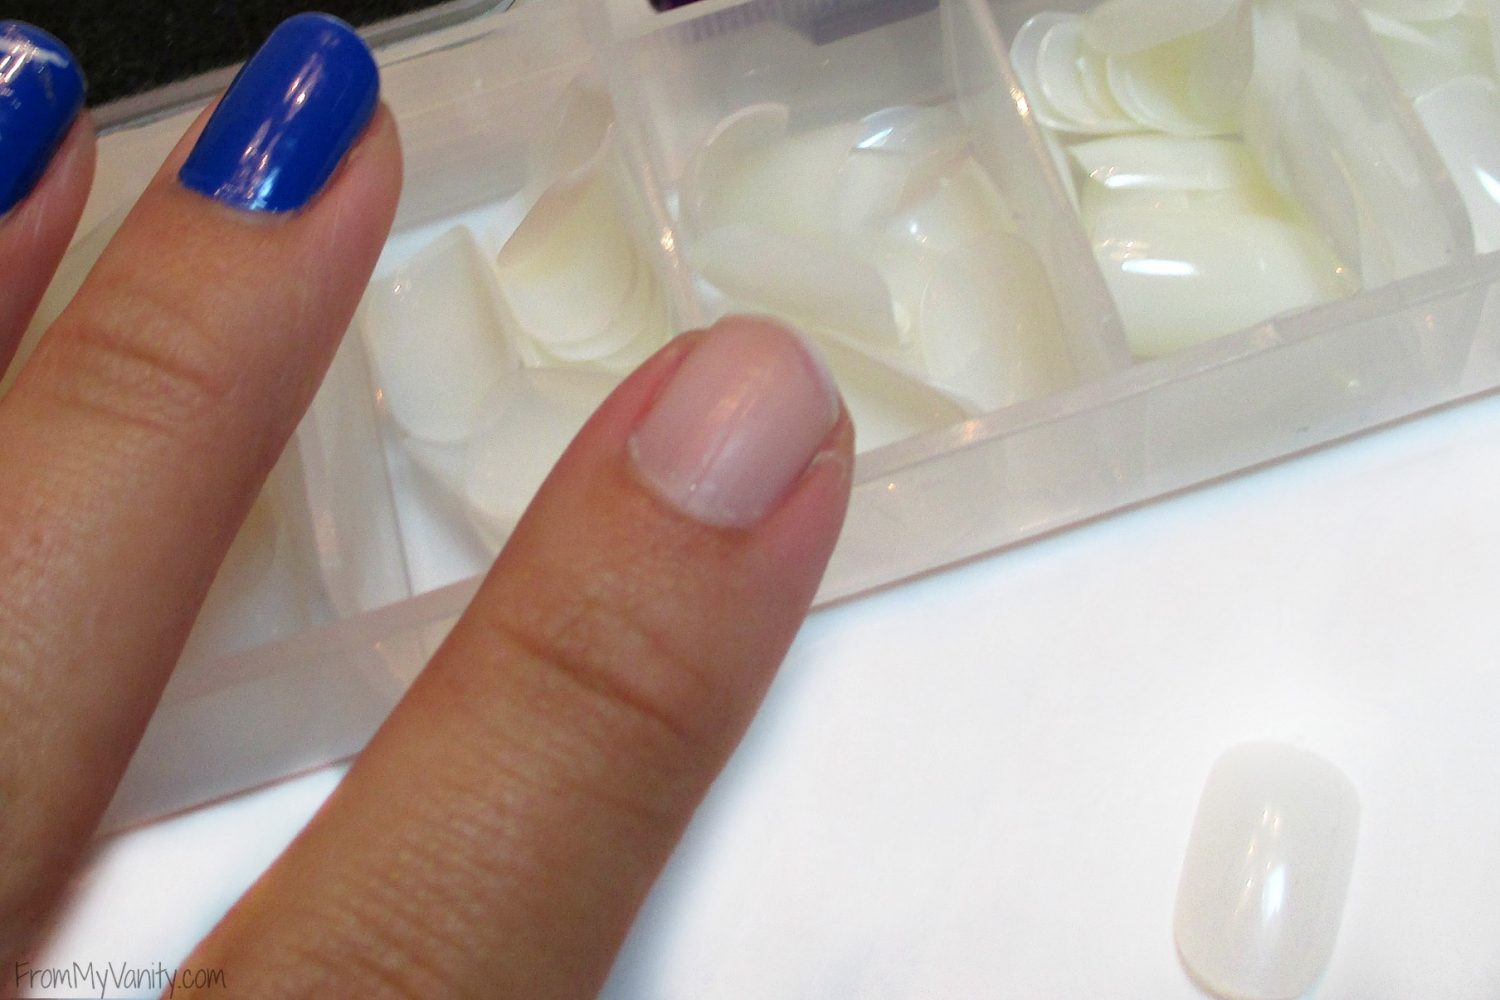 Here I am using a nail set from Nailene that you can get from most of your local drugstores. It’s really important not to pick a nail that is too big, or it will be very noticeable that you’re wearing a fake nail. A good way to go is to select a nail that seems to be a tad too small. Once you apply it and press it onto your nail, it will widen out more.
Step Three: Apply Glue & Press On
 I am using this nail glue that came with my Nailene kit that is called Ultra Quick Nail Glue, but if you don’t have this set, you can actually purchase the bottle by itself for just $2. I also recommend Kiss’s Maximum Speed Nail Glue.
Step Four: File Tip of Nail
 Fake nails typically have a little ‘tab’ at the tip of the nail that you’re going to want to file away (kinda gives away the fact that you’re wearing a fake nail on one of your fingers, lol). In this picture I’m using a glass file I got as a freebie with polish, but you can find similar ones sold at Sally’s Beauty Supply. I’ve been using glass files over the traditional kind of nail file and highly recommend that you make the switch as well!
Step Five: Paint Nail to Match the Rest of Nails
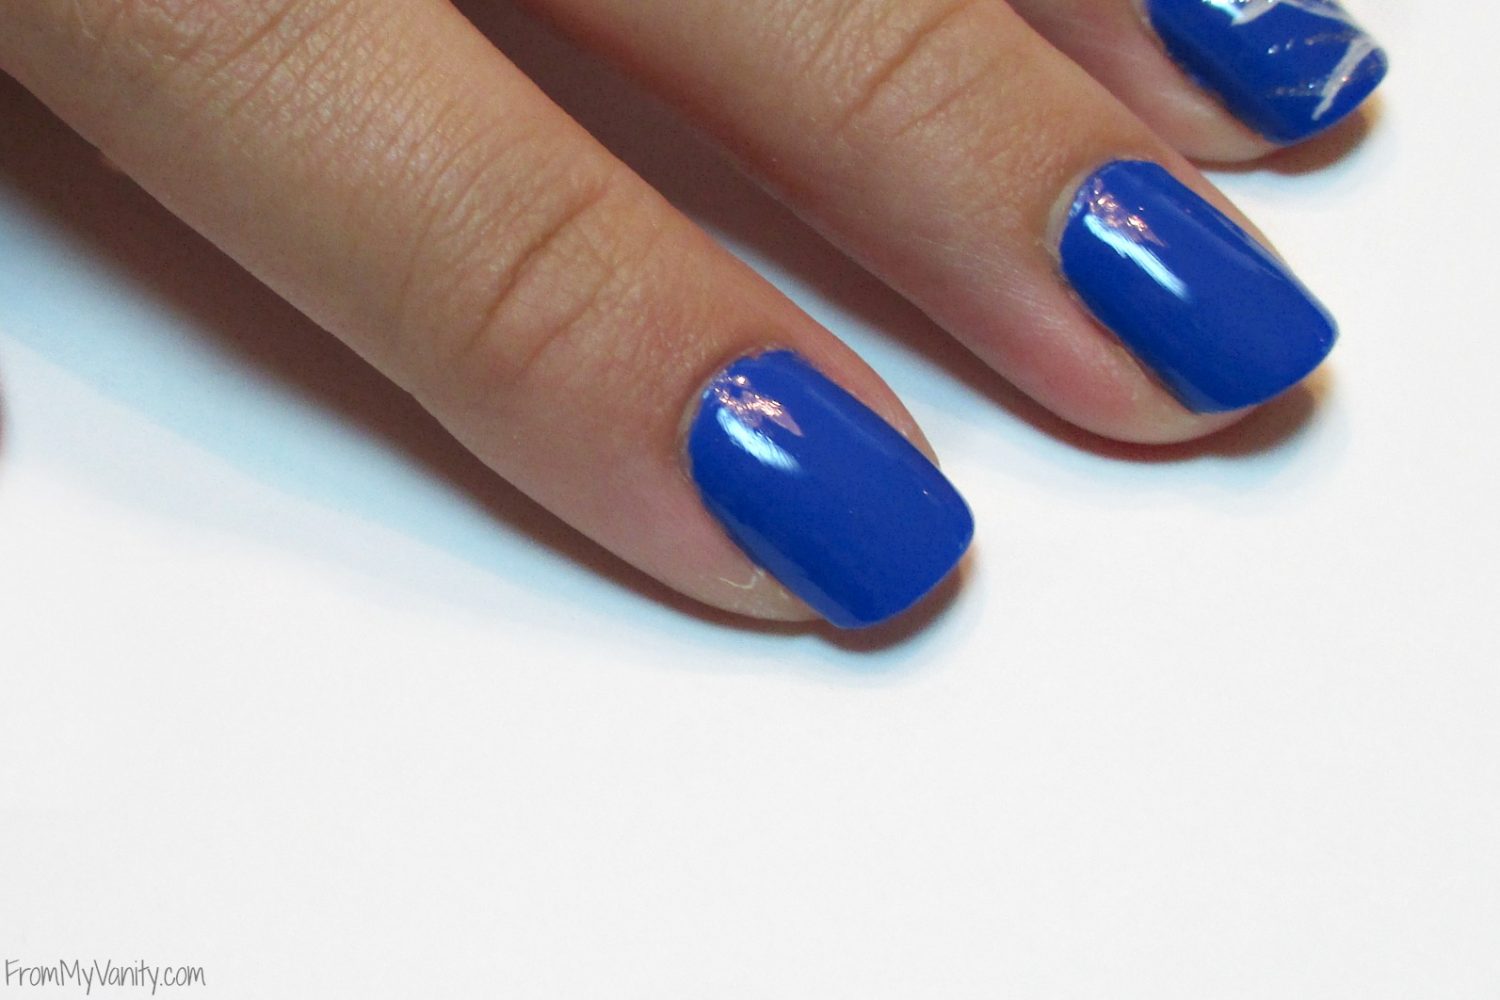 All that is left to do now is paint your nail to match the rest of your manicure and you’re all set. Make sure to do as many coats (in my case, two) as you did on the rest of your fingers and finish with a top coat. If you’re curious, the nail polish color I am wearing is Cabana Boy from Jesse’s Girl Nail Polish.
FINISHED RESULTS!
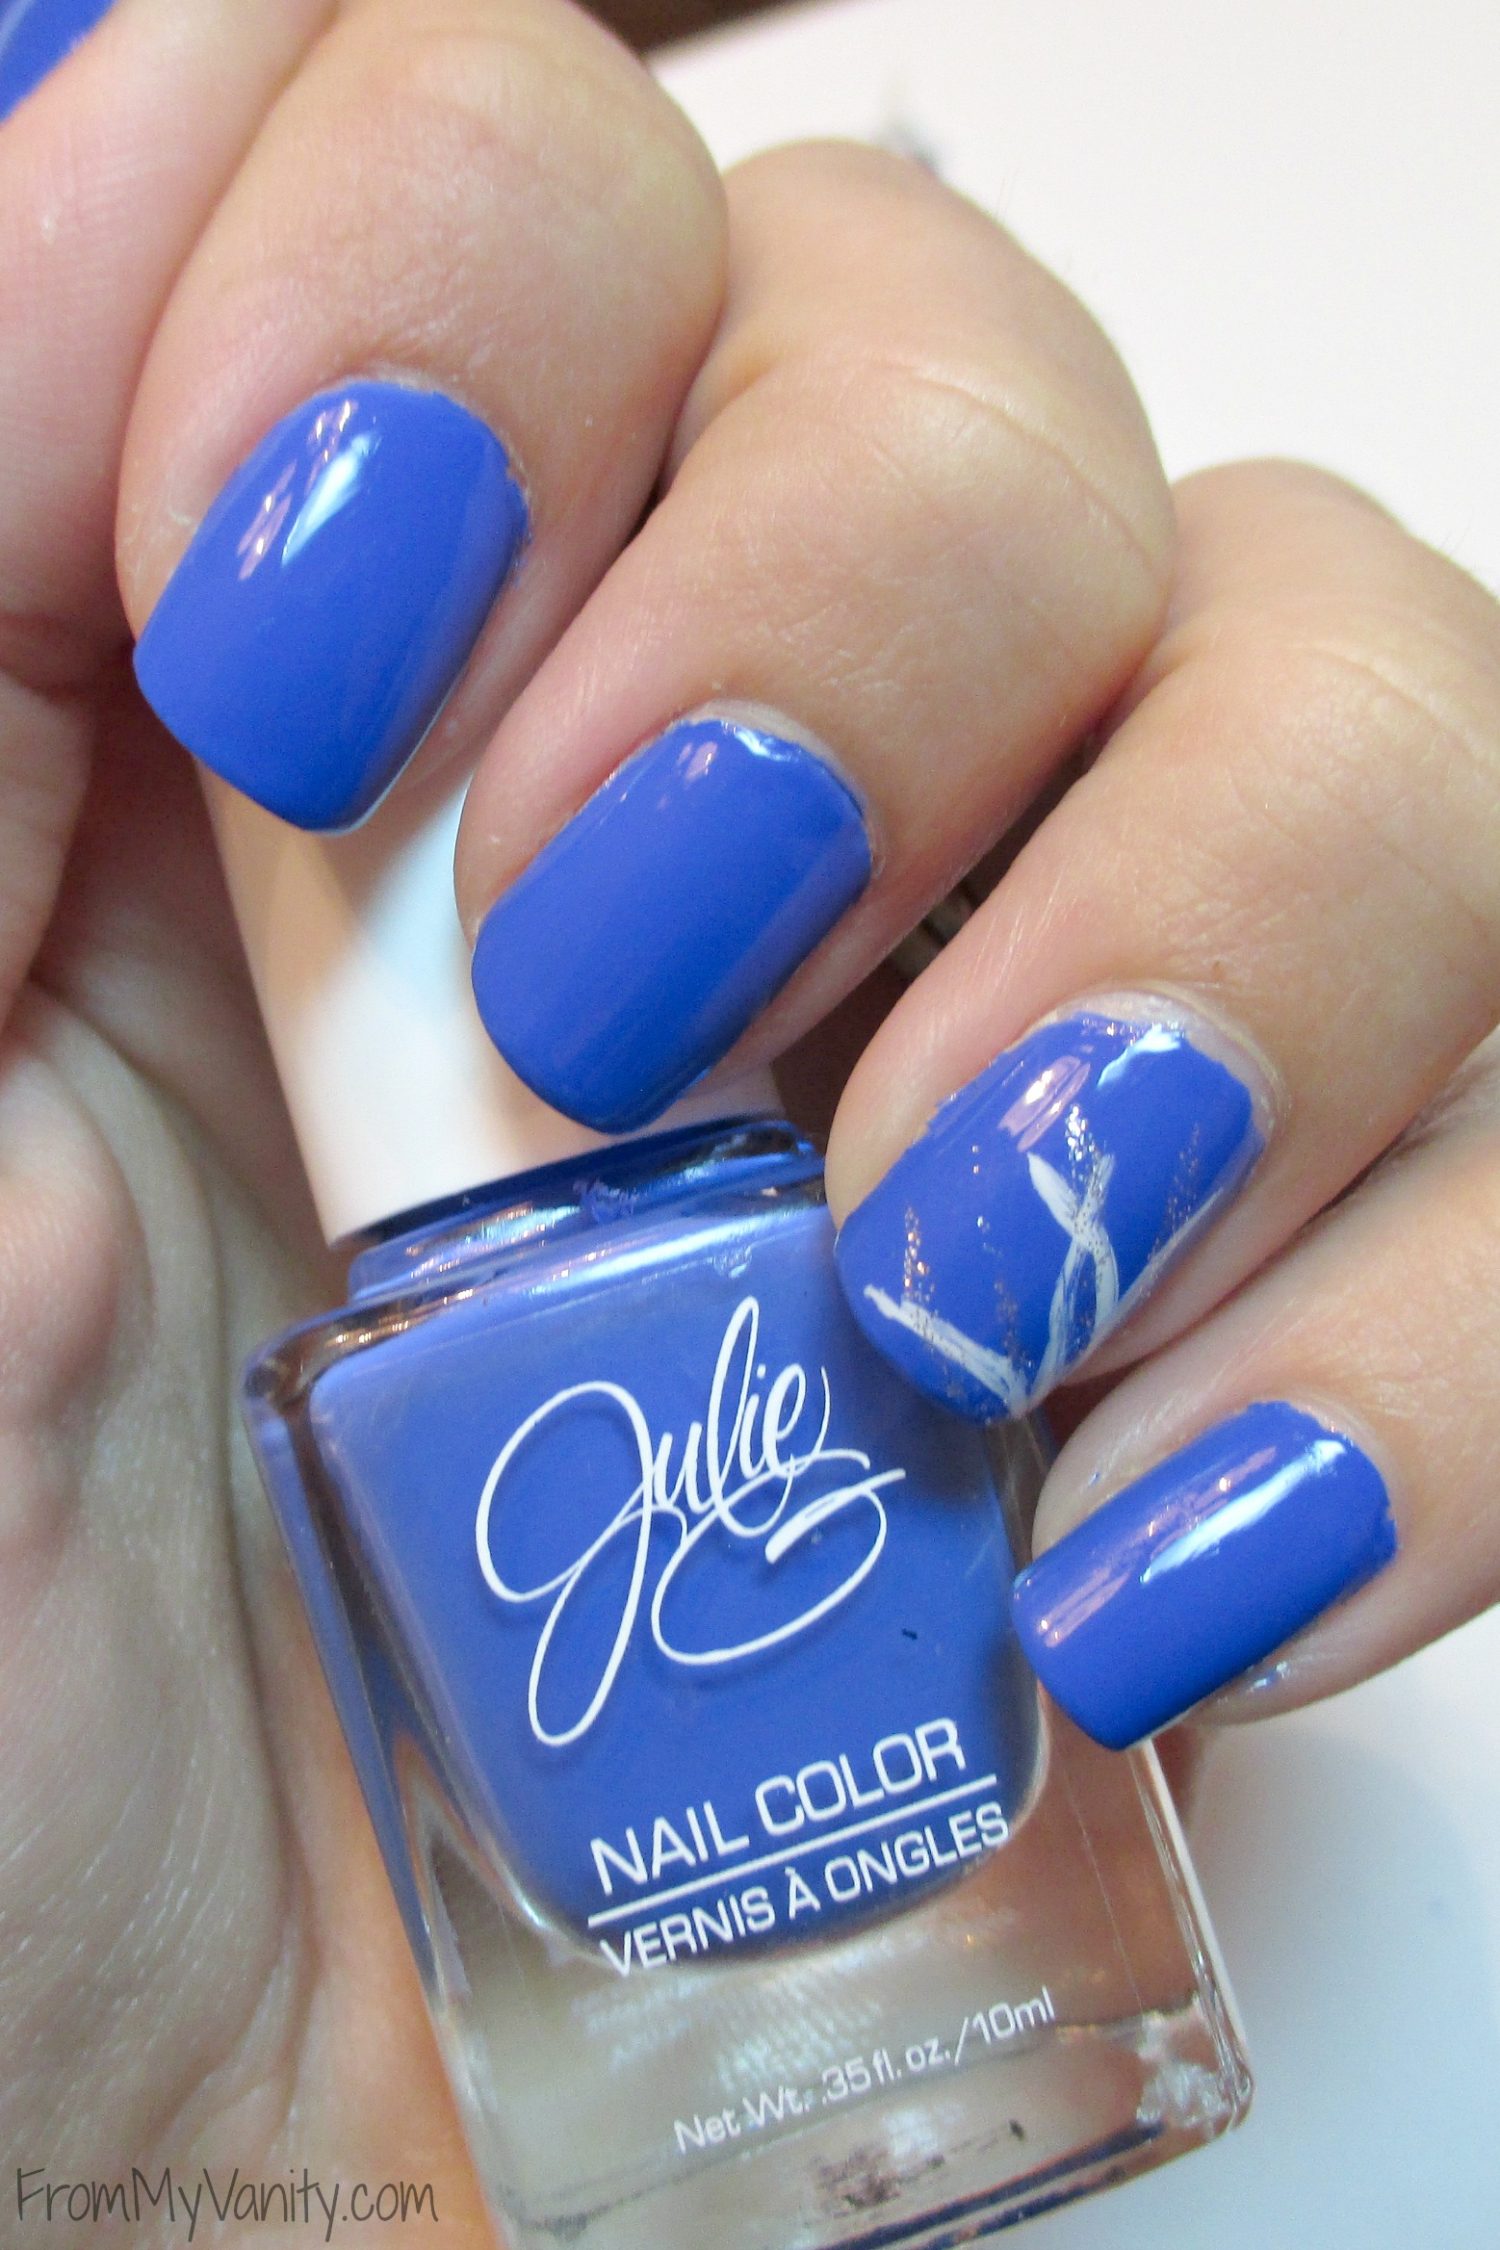 There you go — that’s all there is to fix a broken nail! It doesn’t take long and you can’t even tell that I have a fake nail on my pointer finger, can you?
The fake nail will last anywhere from 1-2 weeks, depending on how rough you are with your hands. For me, they tend to last the full two weeks. If you plan to change up your nail color, you need to be really careful with the acetone when removing the polish from the fake nail — it will start to eat away at the fake nail. But if it falls off, all you have to do is stick another one back on, easy-peasy!
Have you ever heard of this easy nail trick to fix a broken nail? If you have any other fun tips for nails, share them with me below!
PIN IT! SAVE IT!
The products mentioned above were purchased with my own funds. I was not compensated in any way for writing this post. Affiliate links are used. All thoughts are 100% my own. 
