I love painting my nails — who doesn’t?! — and my favorite go-to for a classy look is an easy french manicure. It’s so clean, professional, and will go with whatever outfit you happen to wear.
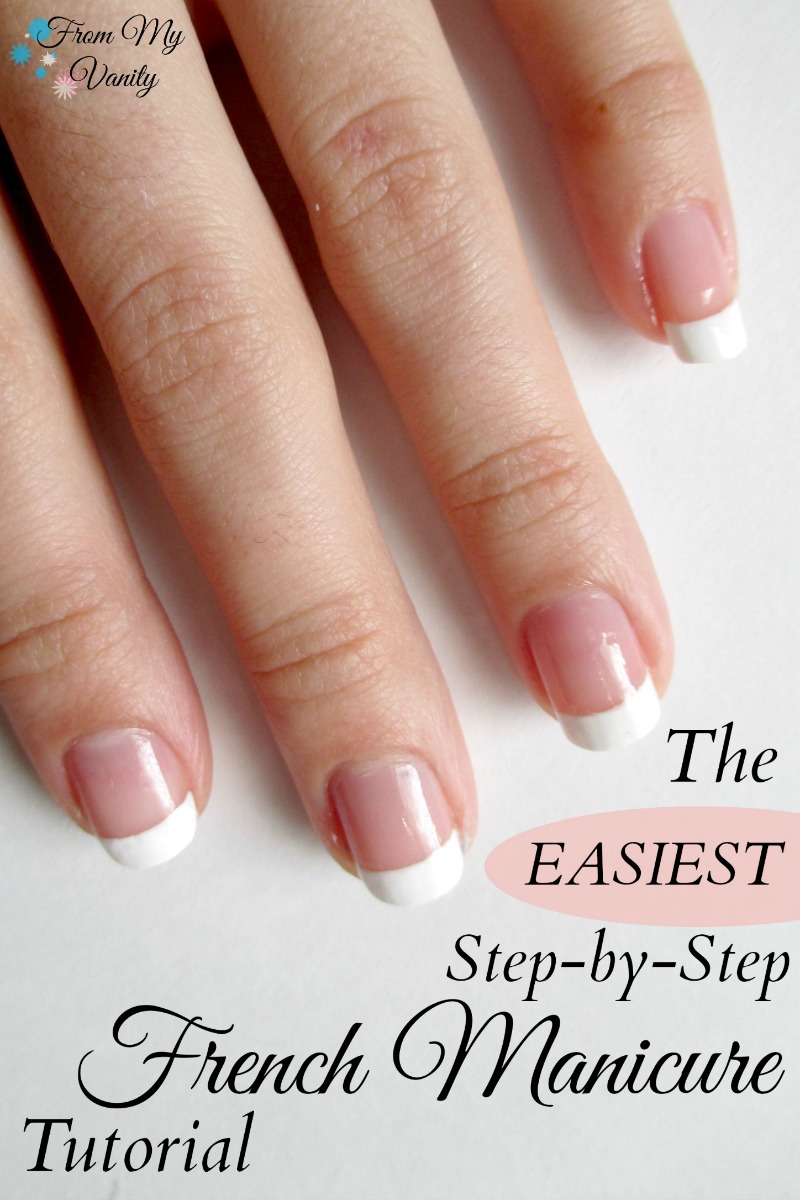 But, if you were anything like me a couple years ago…I royally failed at getting it to look like it was professionally done. Until about a year ago when I started doing my french manicures a different way. Now I get clean, polished, professional white tips every time! 🙂 So let’s jump right into it!
Easy French Manicure Step-by-Step Tutorial!
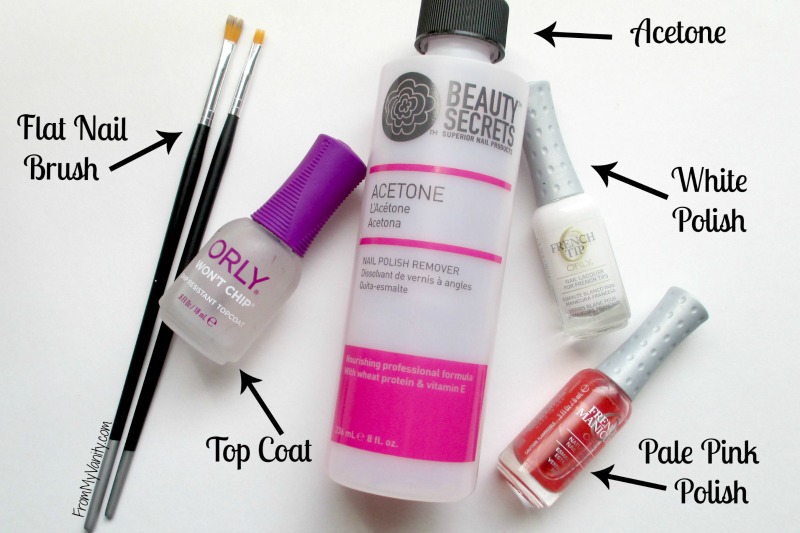 First up, you have to have all the supplies! It’s pretty simple — the nail polishes you would normally need for a french manicure along with a flat nail brush and acetone. I, personally, like ORLY polishes, but Sally Hansen is also one of my favorite, more affordable, brands.
As far as tools go, you can find some at Ulta but Sally’s Beauty Supply also has a nice variety of them available. I would go for a stiff, flat brush that will give you the really clean line you want. 🙂
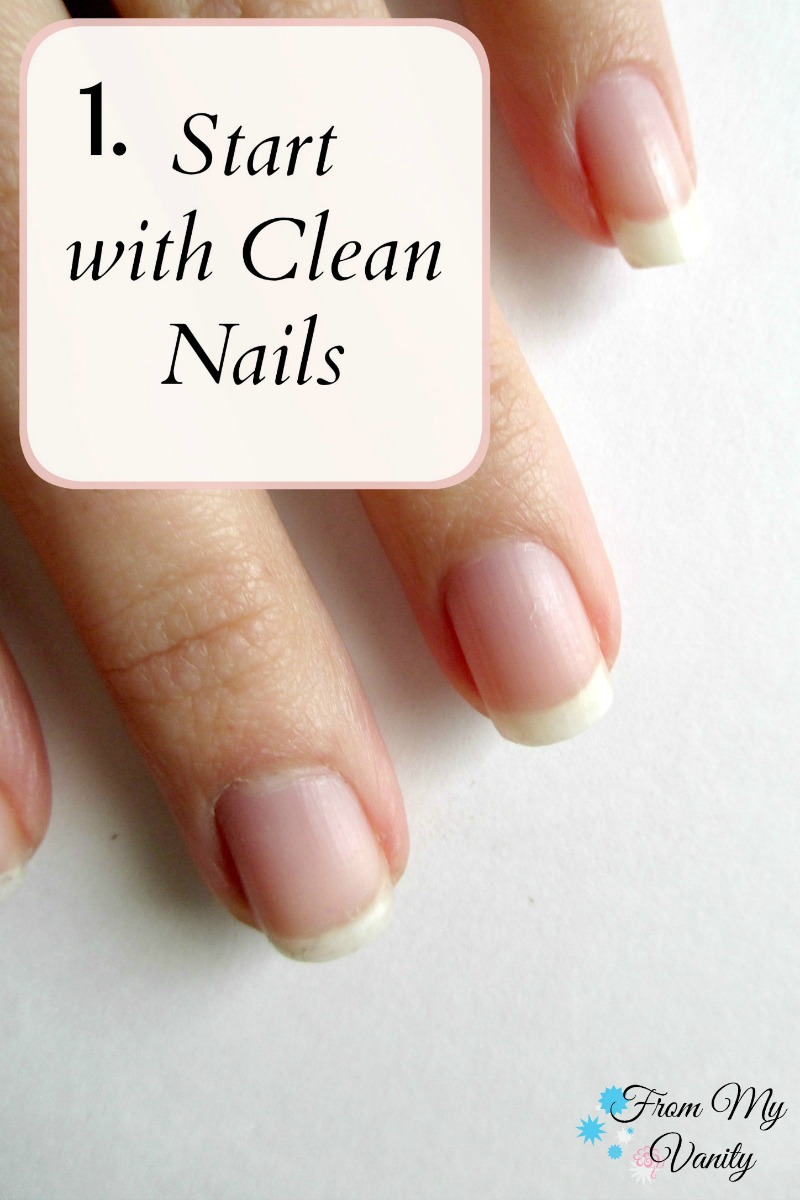 Contrary to what I typically do when I give myself a manicure, I do not apply a basecoat when I do a french manicure. You’ll see why, later. But for now, just make sure your nails are filed, cleaned and your cuticles done.
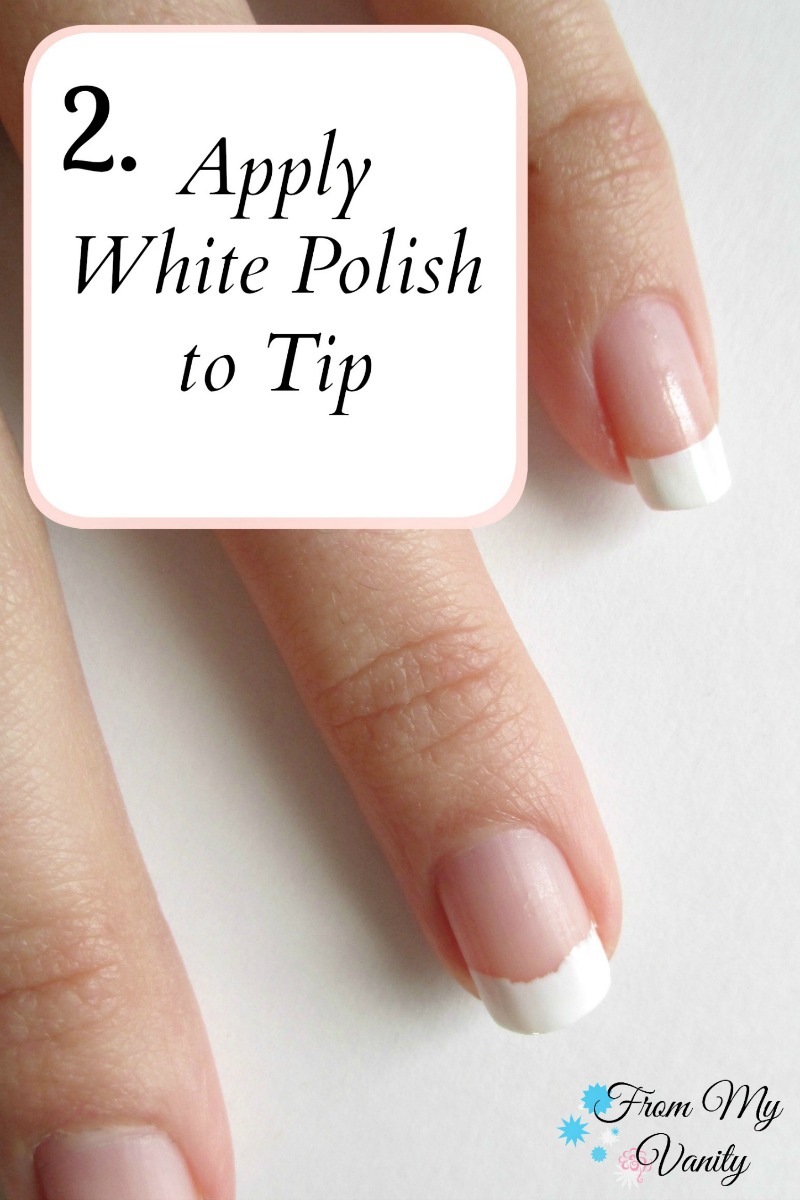 The next step is to take your white polish and apply it to the tip of your nails. Don’t worry about being super-neat , just apply a thin, even layer. Let it set for 5 or 10 seconds before going on to the next step.
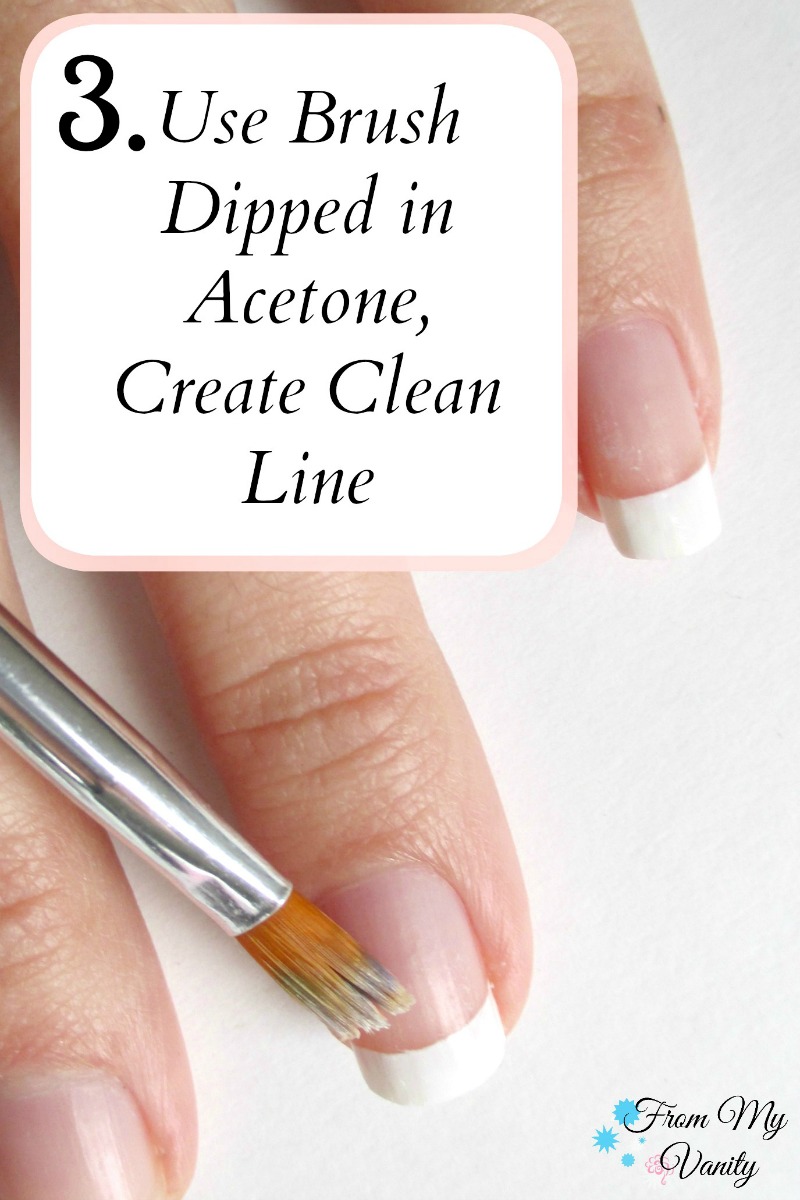 Okay, now the fun begins and the magic happens! 🙂 Dip your flat nail brush into the acetone and then sweep it across your nail, giving your white tips a clean edge. Don’t have too much acetone on your brush, or it could leak all over your hail and ruin the edges of your white polish.
Ta-Da — now you have a very clean, polished, and professional looking white tip. Let’s just finish it up now.
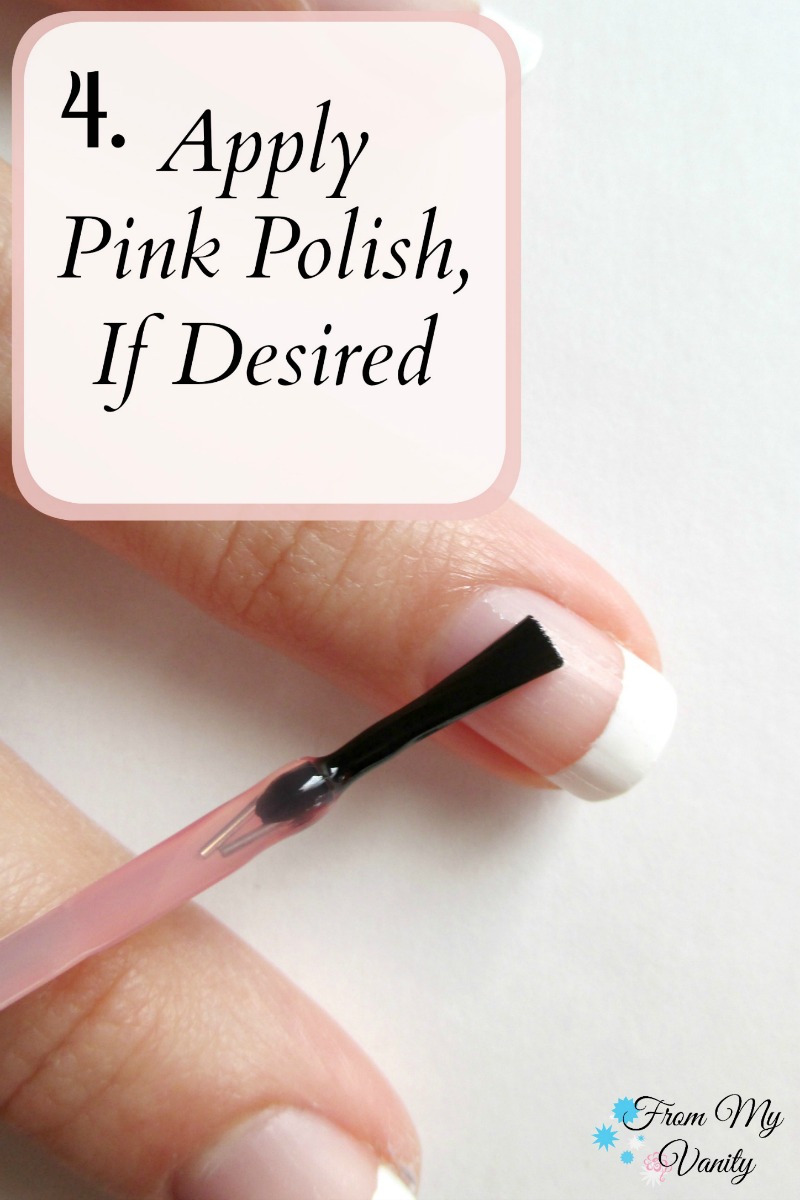 I have this step as optional, because sometimes I just skip it. Why? Because I feel like it doesn’t look as natural. But if you like to have a very pinky nail bed, then by all means continue with this step! I enjoy doing this on special occasions and use this pink-toned polish from Orly.
Now, for this step, I don’t apply this as a typical polish. I take care to just apply it all over my nail bed, making sure not to get any on the white polish. I do this because I don’t like when the pink gets onto the white…it doesn’t look as professional. In my opinion! If you like the pink over the white tip, just do it like you normally would. 🙂
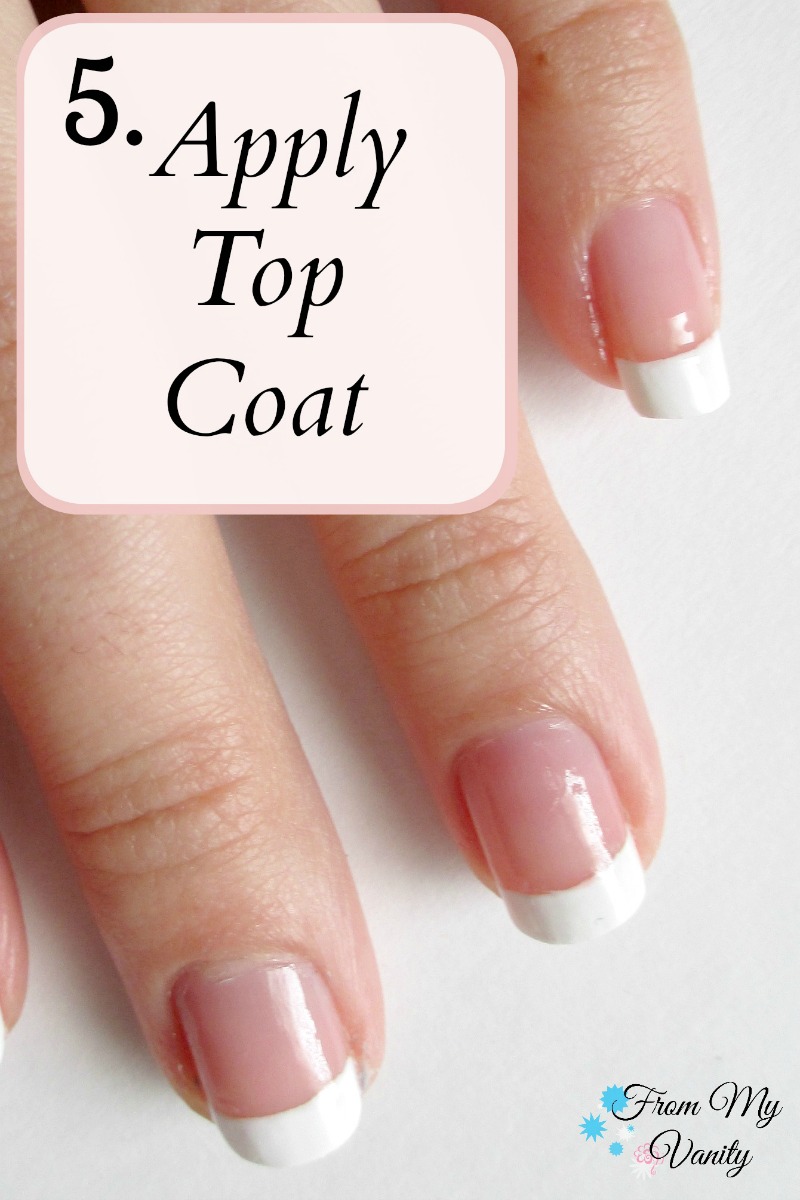
Last step! All you have to do now is apply the top coat. Make sure you’re nail polish is completely dry before you do this step, so you don’t smear the colors together. And now your easy french manicure is complete!
If you give this a try, I’d love it if you’d tag me and hashtag #LadyKaty92 on any of my social medias so that I can find it!
I hope you enjoyed this really simple, really easy french manicure nail tutorial. I find it’s easy to do, dries really quickly, and looks really professional. Tell me what you think in the comments below!
